Seeing the Northern Lights is a bucket-list experience, but photographing them can be incredibly frustrating if you aren't prepared. The Aurora is a moving, dynamic light source in a pitch-black environment. Point-and-shoot auto settings will result in blurry, noisy, or completely black images. Here is how to conquer night-sky photography.
Essential Gear
Before discussing settings, you must have the right hardware:
- Camera with Manual Mode: A DSLR or Mirrorless camera that allows full control over ISO, Aperture, and Shutter Speed.
- Fast Wide-Angle Lens: You want a lens that can capture a wide expanse of the sky (14mm to 24mm) with a fast aperture (f/2.8 or lower is ideal). This lets in maximum light.
- Sturdy Tripod: Non-negotiable. You will be shooting exposures of several seconds. Any camera movement will ruin the shot. Ensure the tripod is heavy enough to withstand winter winds.
- Spare Batteries: Cold weather drains lithium-ion batteries rapidly. Keep 2-3 spare batteries inside your inner jacket layers, close to your body heat.
The Baseline Camera Settings
Every aurora display is different, ranging from faint glows to rapid, bright bursts. However, start with these manual settings and adjust accordingly:
Starting Configuration
- Focus: Manual Focus (MF). Focus to Infinity (∞). *Pro tip: Pre-focus on a distant bright star or moon using digital zoom on your LCD screen, then tape the focus ring in place.*
- Aperture: Wide open. f/2.8 or whatever your lowest f-stop is.
- ISO: 1600 to 3200 depending on your camera's noise performance.
- Shutter Speed: Start at 10 to 15 seconds. If the aurora is moving very fast and "dancing," lower the shutter speed to 3-5 seconds (and raise ISO) to freeze the pillars rather than capturing a green blur.
Composition
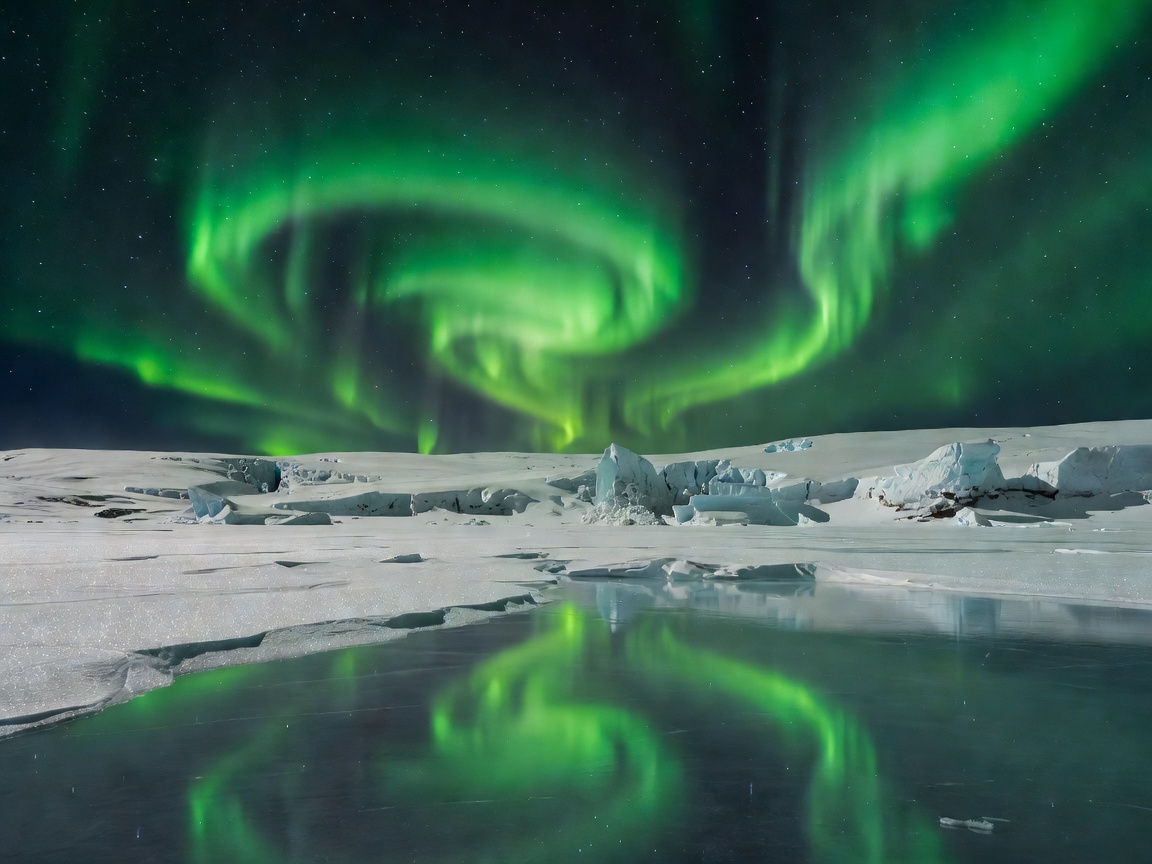
A photo of just green sky can be boring. Always include a foreground element to provide scale and context. A cabin, a mountain peak, a frozen lake, or even silhouetted pine trees will turn a good aurora shot into a great landscape photograph.